Taking proper care of your gear ensures it takes care of you on the trail. Learning how to care for hiking boots is the best way to protect your investment, maintain their performance, and keep your feet comfortable for miles to come.
When your footwear gets packed with mud and soaked with water, the materials can degrade quickly, leading to cracks, leaks, and a much shorter lifespan. Fortunately, extending the life of your gear is simple if you follow a few basic steps.
Step 1: How to Properly Clean Your Boots
Leaving mud and grit on your footwear doesn’t just look messy—it actively damages the material by drawing out moisture and acting like sandpaper on the fabric.
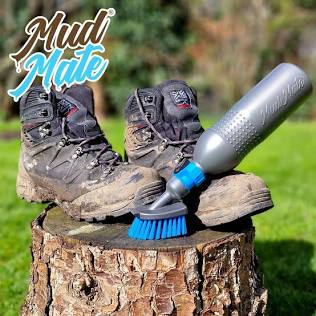
Remove Surface Dirt
After every hike, shake out any loose debris from the inside and brush off loose mud. Use a soft-bristled brush or an old toothbrush to gently scrub the exterior.
Deep Clean the Material
When a simple brush-off isn’t enough, it’s time to deeply clean them:
- Remove the laces and insoles (wash these separately).
- Use a specialized footwear cleaner or a mild mixture of dish soap and water.
- Rinse thoroughly with clean water, but never submerge them entirely.
Step 2: Dry and Condition for Longevity
How you dry your footwear is just as important as how you wash it. High heat can warp the shapes and ruin the adhesives holding the soles together.
Safe Drying Techniques
Always dry your boots at room temperature in a well-ventilated area. To speed up the process, stuff them with newspaper to absorb moisture from the inside, and replace the paper frequently. Never place them near a campfire, radiator, or inside a clothes dryer.
Condition the Fabric or Leather
Once dry, you need to condition the material to keep it supple. Over time, leather and synthetic blends dry out and crack. Apply a specialized conditioner to keep the material flexible, being careful not to over-apply, as too much product can make the structure overly soft and weirdly shapeless.
Step 3: Restore the Waterproof Barrier
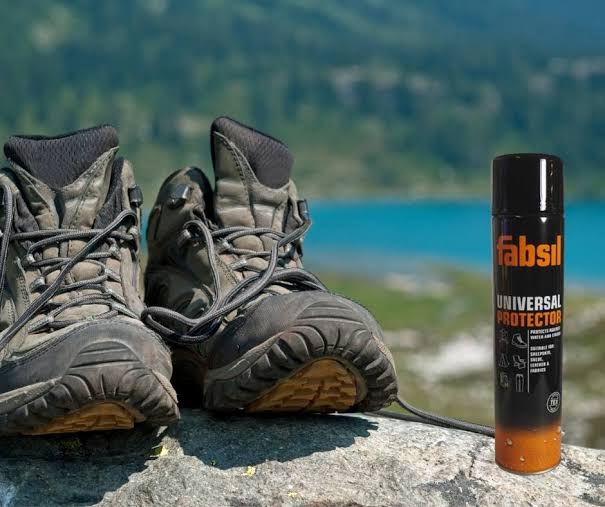
Most new trail footwear comes with a Durable Water Repellent (DWR) coating. Over time, this coating wears off, causing water to soak into the outer fabric rather than beading up and rolling off.
When to Re-waterproof
If you notice that water is no longer beading on the surface and the fabric looks “wetted out,” it is time to apply a new waterproof treatment.
Applying the Treatment
- Apply the waterproofing spray or wax while the boot is still damp after cleaning.
- Ensure even coverage, paying close attention to the seams and creases where water is most likely to penetrate.
- Wipe away any excess product and let them cure fully before your next trip.
Step 4: Inspect, Repair, and Store Safely
Before you put your gear away, do a quick inspection to prevent any nasty surprises on your next outdoor adventure.
Check for Wear and Tear
Look closely at the laces and the soles. If your laces are fraying, replace them now. If the sole is starting to separate from the upper, you can attempt to fix it with a heavy-duty shoe glue, though a professional cobbler or a new pair of hiking boots may be necessary if the damage is severe.
How to Store Your Boots
When you are not on the trail, properly store your footwear to protect it from elements and pests:
- Keep them indoors in a temperature-controlled environment.
- Avoid damp basements, hot attics, or leaving them outside where rain can ruin them or animals might chew on them.
Trail Tip: Always inspect your gear a few days before a major hike. Discovering a broken sole at the trailhead can ruin your trip.